In this guide, we’ll break down what a Cat6 RJ45 connector is, compare the most common connector types, and highlight the real-world pros and cons of each so you can choose the right option for your setup with confidence.
What is an Cat6 RJ45 Connector?
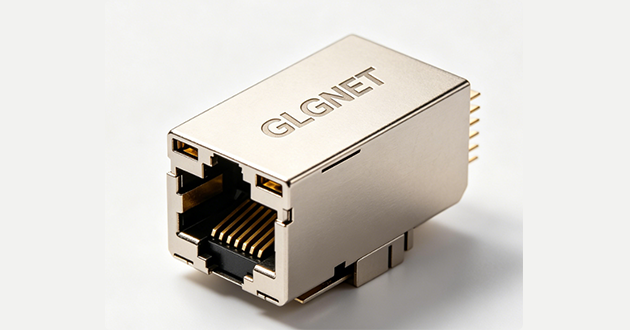
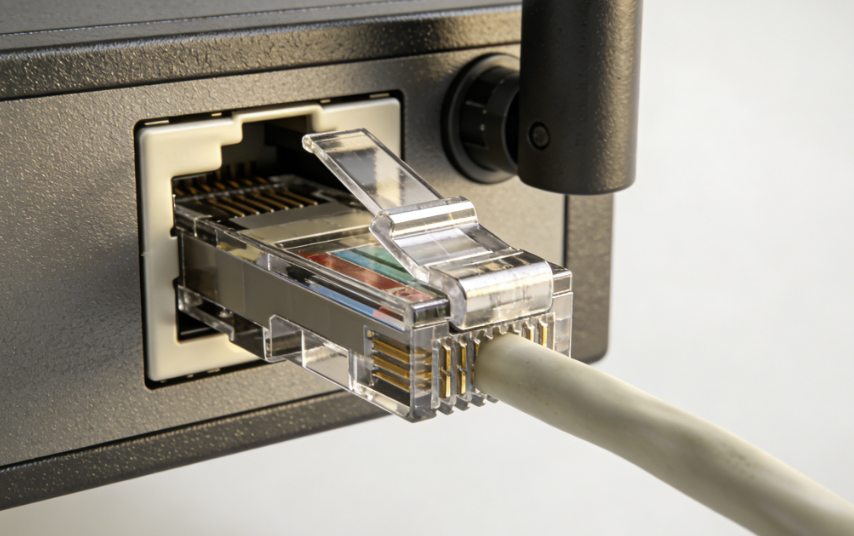
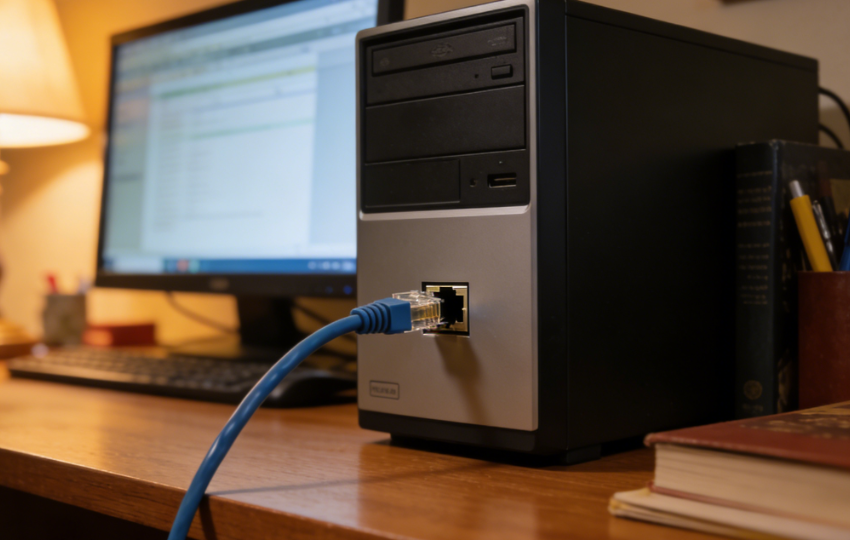
An RJ45 connector is the standard “Ethernet plug” used to terminate twisted-pair network cable so it clicks firmly into the ports on routers, switches, and computers. In day-to-day use, people say “RJ45” as a convenient shorthand for the familiar 8-pin modular Ethernet plug—so instead of worrying about the exact terminology, it’s more helpful to focus on whether the connector is actually compatible with your cable and your installation.
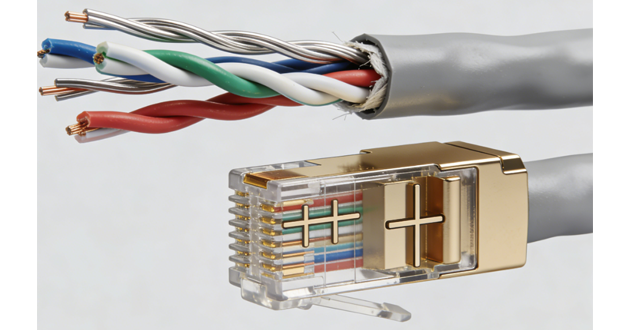
That compatibility matters even more with Cat6. Compared with Cat5e, Cat6 is designed to meet stricter performance requirements, which often means thicker conductors and a tighter internal structure (sometimes including a plastic separator) to control crosstalk. If the connector isn’t sized correctly—or if the contact design doesn’t mate well with your wire—you may get a plug that feels “finished” but performs inconsistently, with weak hold, unreliable pin contact, or borderline results under real traffic. A strong Cat6 connector should match your cable’s wire gauge and jacket diameter, let you keep the twists close to the contacts, support the right shielding type (UTP vs. shielded), and stay solid through repeated insertions—especially for PoE runs or frequently handled connections.
Cat6 RJ45 Connector Types (Quick Overview)
|
Type |
What it is |
Pros |
Cons |
Best for |
|
UTP RJ45 (Unshielded) |
Standard non-shielded Cat6 connector |
Lower cost, easiest to source, simple installs |
Less EMI protection in noisy environments |
Home/office runs, most typical installs |
|
STP/FTP RJ45 (Shielded) |
Metal-shielded connector for shielded cable |
Better noise resistance, more stable in high-EMI areas |
Requires proper grounding; bulkier; higher cost |
Industrial areas, near power lines, server rooms |
|
Pass-through RJ45 |
Wires pass through the front, then get trimmed |
Faster termination, easier to verify wire order |
Needs compatible crimper; trimming must be clean to avoid issues |
Beginners, high-volume terminations |
|
Standard (Non pass-through) |
Traditional closed-end connector |
Widely compatible, no exposed wire ends |
Slower; harder to confirm wires fully seated |
Pros who want consistent results |
|
Field-termination RJ45 |
Tool-less or minimal-tool onsite termination |
Great for repairs/onsite work; no crimping needed |
More expensive; bulkier; varies by brand quality |
Onsite troubleshooting, quick deploy, patching |
|
2-piece/3-piece (with load bar) |
Connector uses a load bar/guide for alignment |
Better wire alignment, easier Cat6 fit, improves consistency |
Slightly more steps; can cost more |
Cat6 with thicker conductors; clean, repeatable installs |
Cat6 RJ45 Connector Types: Pros and Cons
1.UTP RJ45 Connector(Unshielded)
Pros
1)The everyday “default” RJ45 connector: affordable, easy to source, and more than enough for most homes and offices
2)Straightforward to terminate, with no grounding considerations to worry about
3)Plays nicely with common Ethernet cable types and typical network equipment
Cons
1)Offers little defense against EMI, so performance can dip if the run sits alongside mains power, motors, or certain lighting hardware
2)The outcome depends heavily on technique—strip too much jacket or untwist too far and you can lose performance headroom without realizing it
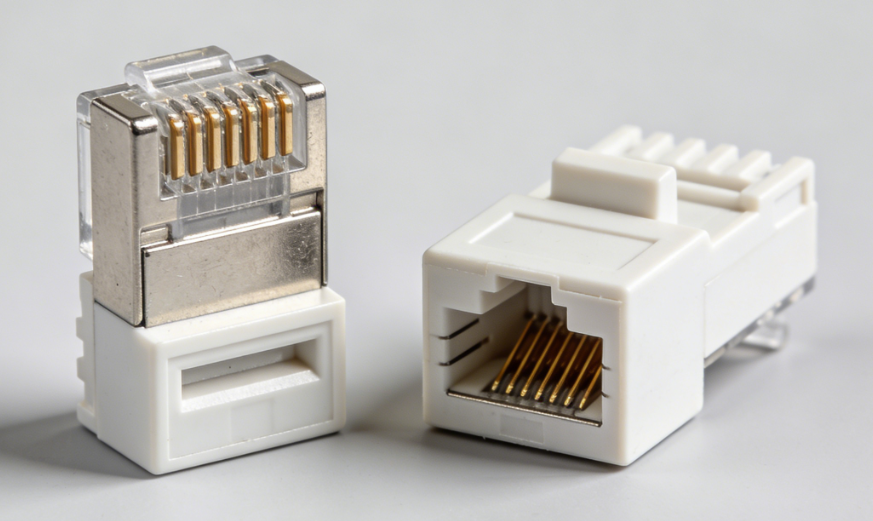
2.STP/FTP RJ45 Cage(Shielded)
Pros
1)A better choice when electrical noise is part of the environment, thanks to stronger EMI rejection
2)When the entire channel is designed as shielded, it can deliver a more stable link—especially in challenging installs
Cons
1)Shielding only works as a system: cable, connector, termination hardware, and grounding all need to be right, or the “upgrade” becomes a headache
2)Usually larger, stiffer, and pricier, and it tends to punish sloppy termination more than unshielded options
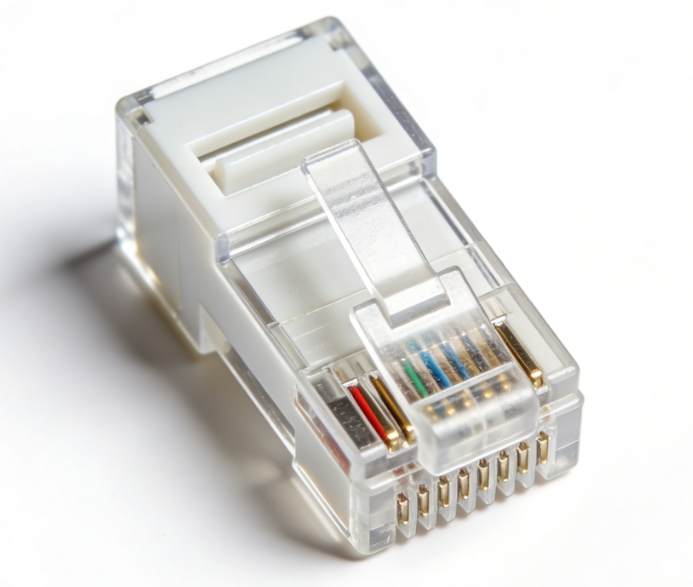
3.Pass-through RJ45 Connector
Pros
1)Easier to get right on the first try because you can see the wire order and full insertion before crimping
2)Speeds up repetitive work—useful when you’re terminating a lot of ends
3)Helps avoid the classic “looks seated, isn’t seated” problem that can cause intermittent drops later

Cons
1)You’ll need a pass-through-capable crimper that cuts cleanly and flush
2)Imperfect trimming can leave rough ends or exposure that may affect reliability over time, especially in humid or dusty environments
3)Some installers avoid it for strict-spec jobs where they want the most consistent, standardized finish
4.Standard / Traditional RJ45 Connector(Non Pass-through)
Pros
1)The conventional style many pros stick with because it’s predictable once your process is dialed in
2)No conductors sticking out the front, giving a cleaner finish and often better long-term durability
3)Available in many variations, so you can match it to UTP/shielded needs and solid/stranded cable types
Cons
1)Less forgiving: wire order, insertion depth, and making sure the jacket is captured properly all matter
2)With Cat6 (especially thicker conductors or cables with a spline), the wrong RJ45 connector spec can mean a tight fit, weak termination, or failures that show up only under real traffic or PoE load
5.Field-termination RJ45 Cage(Tool-less / Minimal-tool)
Pros
1)Great for quick repairs, retrofits, and on-site work where carrying a full crimp setup isn’t practical
2)Depending on the design, it can handle certain cable builds more gracefully than traditional plugs
3)Useful in racks, ceilings, and telecom spaces where time and access are limited
Cons
1)Higher cost per termination, and the connector body is often bulky—annoying in tight wall plates or dense patch panels
2)Quality varies significantly by brand, so “set-and-forget” reliability depends on choosing well
3)Not the best route for large projects where cost and uniformity matter
6.2-piece / 3-piece RJ45 Port(with Load Bar)
Pros
1)Well suited to Cat6: the load bar keeps conductors aligned and makes terminations more consistent
2)Helps preserve pair geometry closer to the contacts, which can support better performance margins
3)Often feels easier when working with thicker conductors and many solid-core Cat6 cables
Cons
1)Adds steps, so each termination takes longer than a simple one-piece plug
2)More components means more small details to get right (alignment, trim length, assembly order)
3)Typically costs a bit more than standard one-piece RJ45 connector designs
How to Choose the Right RJ45 Connector for Cat6
Start by matching the RJ45 connector to your Cat6 cable—not the other way around. Check whether the conductors are solid or stranded, confirm the wire gauge (AWG), and note the outer jacket diameter. Because Cat6 is often thicker and less flexible than Cat5e, a plug that “almost fits” can still cause trouble, such as weak strain relief, inconsistent pin contact, or terminations that seem fine at first but become unreliable over time.
Next, decide whether you actually need shielding. In most home and office setups, an unshielded (UTP) RJ45 connector is the simplest and most dependable option. Shielded connectors only make sense when the entire channel is designed for it—shielded cable, shielded jacks/patch panels, and proper grounding—otherwise you’re adding cost and complexity without getting consistent gains.
Installation style matters too. If you’re new to termination or doing a lot of ends, pass-through RJ45 cages can speed things up and make it easier to catch wiring mistakes before crimping. If you prefer a cleaner finish and more repeatable results—especially with thicker Cat6 conductors—traditional or load-bar designs are often a safer pick. Finally, think about real-world demands: PoE, frequent unplugging, or high-traffic connections usually benefit from a sturdier RJ45 connector with reliable contacts and solid strain relief. Ultimately, the “best” choice is the one that fits your cable, works with your tools, and holds up in your actual installation environment.
Read more:
https://www.glgnet.biz/articledetail/is-an-rj45-port-the-same-as-an-ethernet-port.html
https://www.glgnet.biz/articledetail/what-is-the-purpose-of-an-rj45-connector.html
Conclusion
If speed and convenience matter, pass-through styles can reduce mistakes, while traditional and load-bar designs often deliver the most consistent long-term results—especially with thicker Cat6 conductors. Match the connector to your cable specs, use the right tools, and keep your terminations clean and consistent, and your Cat6 runs will perform the way they’re supposed to.